Creating a strong, level base is one of the most important parts of any paver project. Whether you’re installing a patio, walkway, or driveway, getting the dirt base right sets the stage for a stable, long-lasting surface. Even though laying pavers might seem like a surface job, the ground underneath does the heavy lifting. If it’s not properly leveled and compacted, you could end up with uneven pavers, drainage issues, or shifting over time.
How to Level Dirt for Pavers in 5 Easy Steps
Here’s a simple, step-by-step approach to leveling dirt for pavers the right way.
Step 1: Plan Your Layout and Mark the Area
Before you break ground, take time to map out exactly where your pavers will go. Use stakes and string or a garden hose to outline the perimeter of your project. This step ensures you’re working with precise measurements and helps you visualize the finished space. You’ll also be able to determine how much material you’ll need to remove or bring in.
Be sure to check for any utility lines before you dig. A quick call to your local utility service can save you time and trouble.
Step 2: Excavate the Area to the Correct Depth
Once your area is marked, it’s time to dig. The depth depends on the intended use of the pavers. For patios or walkways, dig down about 5 to 7 inches. For driveways or heavier loads, you may need to go as deep as 9 to 12 inches.
This depth includes space for a gravel base (usually 4 to 6 inches), a sand layer (1 inch), and the paver thickness itself. Keep in mind that your finished surface should slope slightly away from your home or any structure to allow water drainage, typically about a quarter inch of slope per foot.
Step 3: Remove Rocks, Roots, and Debris
After excavation, take time to clear the area of anything that could interfere with a level surface. Remove large rocks, roots, and chunks of clay or soil that could cause shifting. Break up hard soil clumps and rake the area to smooth it out. This is also a good time to check for any low spots that need to be filled in.
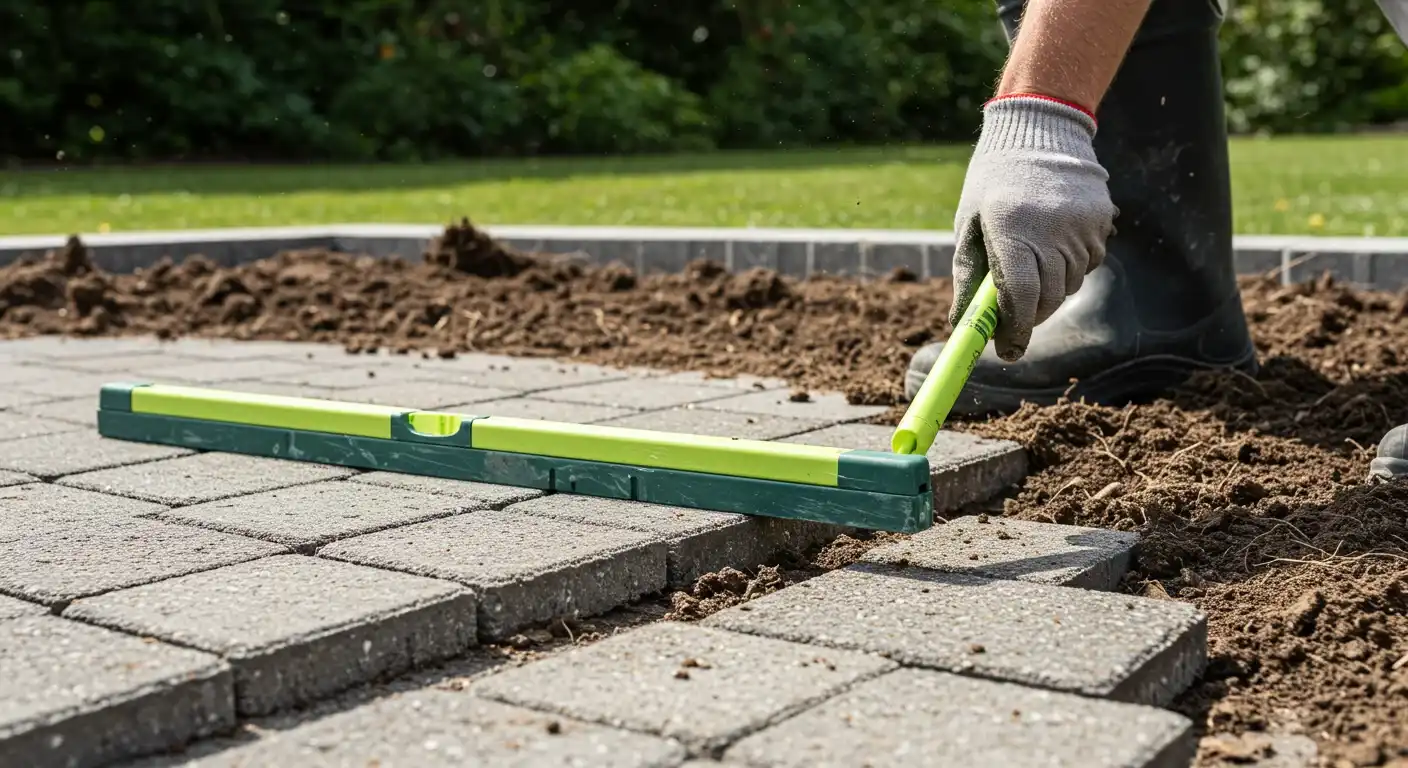
For extra accuracy, you can use a long level or a straight 2×4 board to check for high and low areas. The more even your dirt base is now, the easier the following steps will be.
Step 4: Compact the Soil Firmly
Once the dirt is relatively level and cleared, it’s time to compact. A hand tamper can work for small areas, but a plate compactor is ideal for larger spaces. Compacting is critical—it prevents the ground from settling later, which could cause your pavers to sink or shift.
Work in passes, tamping down every section of the area evenly. If you’re unsure whether it’s compact enough, walk across the surface. You shouldn’t see any footprints. That’s a good sign your base is firm and ready.
Step 5: Fine-Tune the Surface Before Adding Gravel or Sand
After compaction, take another pass with your level or board to make sure the area is smooth and properly sloped. Fill in any small dips and tamp again as needed. The surface should feel solid and look clean. This will give you the perfect base for adding your gravel and sand layers before you set the pavers.
From here, you’ll continue building your paver base by adding a compacted gravel layer, followed by a 1-inch bed of sand, and then setting your pavers in place.
Conclusion
Leveling dirt for pavers may not be the most glamorous part of your project, but it’s one of the most essential. By following these steps and taking your time to do it right, you’re setting your project up for long-term success. A strong, level base means your pavers will look great, stay in place, and withstand the elements for years to come.